- T5 torx driver.
- x-acto or sharp pointed device.
- paper cup (for small parts).
- Small flat blade screwdriver.
- Air compressor.
- Sandblasting nozzel.
- A big supply of Baking Soda (Sodioum Bicarbonate).
- 400 grit Aluminun Oxide wet sandpaper.
- 12 oz. aerosol can of Plasi-dip.
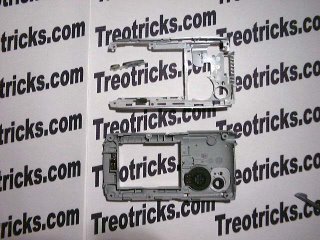
You will end up with the 2 pieces shown below PLUS the side buttons. Put the buttons aside in a safe place.
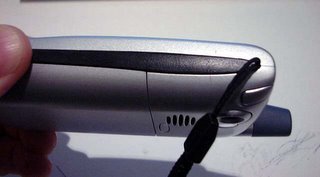
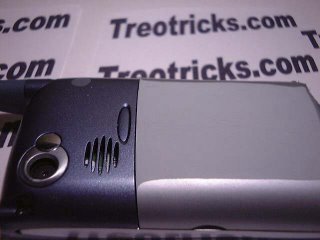
Now you need to prepare the chrome side pieces to get the rubber to stick. this is very imporant to get a profesional and durable result. You will need to your compressor set at a relativly low setting of 60 Psi. Check it and make sure that it stays around that setting while flowing air. You will need to blast away the shiny chrome finish on both sides and around the edges. Below is a picture of how it looks before and after.
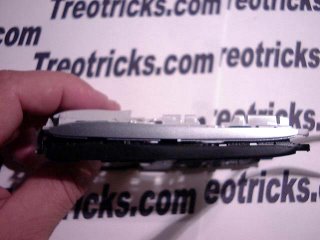
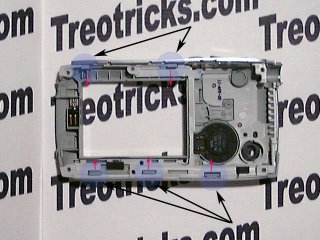
And here is a picture showing how the plastic should look without the finish on a battery cover.
After you blasted the chrome finish, run the wet sandpaper over it just to roughen it up and get the paint to stick. Rinse the plastic piece, shake the excess water off and let it sit in a nice warm area or under a light so it can dry. I would give it a good 4 hours and make sure it does not get dirty and dusty meanwhile.
Now you should find a clean, well ventilated area for spaying the plastic. Follow the insturctions on the can. Can should be a normal room temperature and shake it good. masking is not needed but you should concentrate on just spraying the areas that will be exposed.Spray a nice first coat that covers all the recently exposed bare plastic. It may look thick, but it will be ok. Wait 1/2 hour and reapply a second coat and then a third coat.
Place the plastic in a warm area where it can dry. Wait at least 4 hours before you reassemble your treo.
Assembly in the reverse order. Snap the now rubberized piece to the rear shell and make sure the 5 clips snap. It may require squezing the 2 pieces together tightly since the rubber added thickness
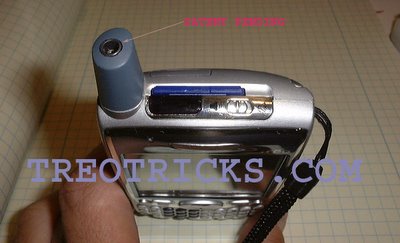
Go ahead and put your buttons in where they belong and assembly your Treo back together by snaping together the front and reat shells. Insert the antenna back in and use the long screw to secure it in place. Go ahead and tighten the remaining 6 screws. make sure you do not overtighten. Add you battery, rear cover, memory card, SIM (if needed) and you are ready to go.... Isn't she beautiful?
posted by TreoTricks at 8:13 PM
![]()
![]()


2 Comments:
would you do this for me if i were to send it to you (for a price im assuming)? ALSO, ive had a problem with the internal regular jack for my 2.5 --> 3.5 mm adapter piece... i think it may be messed up. Please may email me any advice/prices at Crusada44@aol.com . THANKS - great skillz btw.
I tried to do a mod to put a 3,5 jack where the 2.5 jack was. After trying 3 different jacks, I finally got one cut that would fit, but my soldering skills are lacking at best. So once I put my mounds of solder on, the piece no longer fits. So I removed all the solder and just have a "dead" jack in the place of the 2.5. The reason I went this route was because I planed to put on of the new flat antennas on the top of the phone, and did not think I could put a 3,5 in the new flat unit.
Please give me the cost and contact info and I will send the unit to you. I have done, what I think is a one of a kind paint job on the unit, and dont want to runin any further chaces of being able to use a wired headset. I can send you pictures of any part od the phone you need.
The pictures of the phone mod will be on my photo bucket page, I'll give you the link. You will see on there that I love to do custom fab work. Many of the projects I have done on my jeep are on there.
anyway my e-mail is thegoempels@yahoo.com
I just try to live by the motto "never pay someone to do something you can do yourself" I tried and can not do it, so I will send it to the pro to mod.
Thanks
Eric
Post a Comment
<< Home